5 Easy Steps To Your First RubyCocoa Application: Difference between revisions
Jump to navigation
Jump to search
| Line 7: | Line 7: | ||
* some time | * some time | ||
== Step 01: Creating the project == | == Creating the project == | ||
=== Step 01: Creating the project === | |||
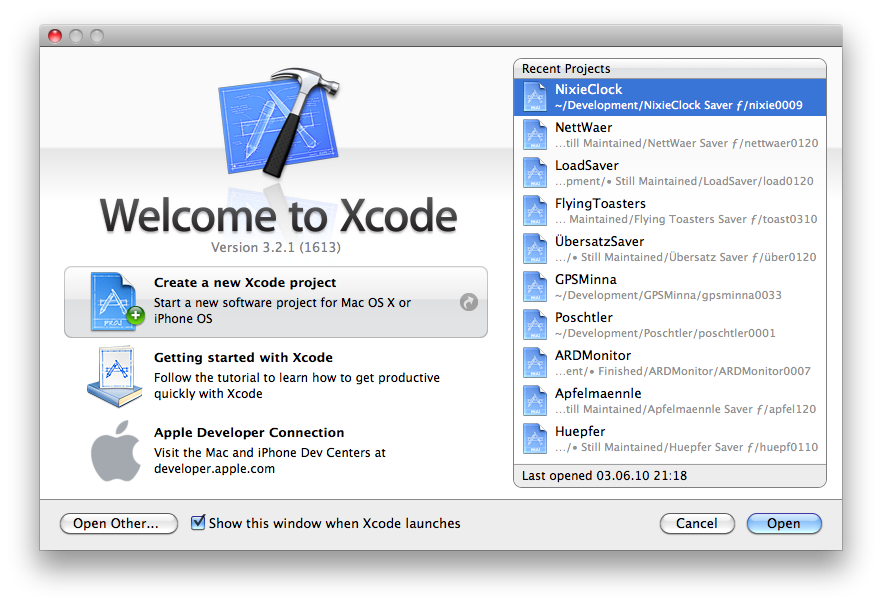
# Click ''Create a new XCode project''...<br>[[Image:RubyCocoaTutorialStep1CreatingTheProject01.png]] | # Click ''Create a new XCode project''...<br>[[Image:RubyCocoaTutorialStep1CreatingTheProject01.png]] | ||
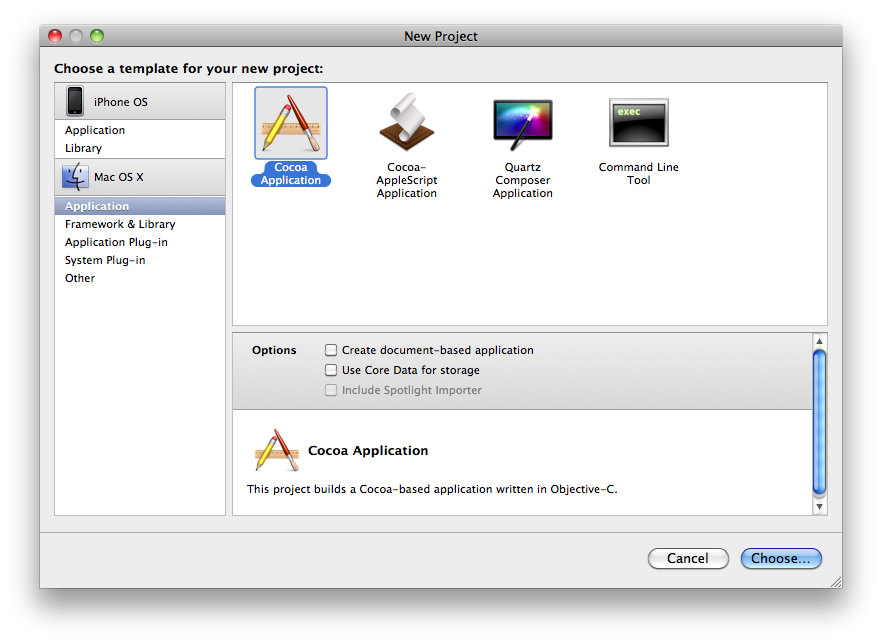
# ...choose ''Application'' on the left and ''Cocoa Application'' on the right and click ''Choose...''...<br>[[Image:RubyCocoaTutorialStep1CreatingTheProject02.png]] | # ...choose ''Application'' on the left and ''Cocoa Application'' on the right and click ''Choose...''...<br>[[Image:RubyCocoaTutorialStep1CreatingTheProject02.png]] | ||
Revision as of 21:30, 16 June 2010
This is my preparation for the Cetik Event 2010. 2009 I promised to hold a lecture about creating an simple RubyCocoa application.
What you need
- Macintosh of your choice
- MacOS X 10.5 oder 10.6 (10.4 users have to install RubyCocoa theirselves)
- XCode 2.4 or higher[1]
- some time
Creating the project
Step 01: Creating the project
- Click Create a new XCode project...
- ...choose Application on the left and Cocoa Application on the right and click Choose......
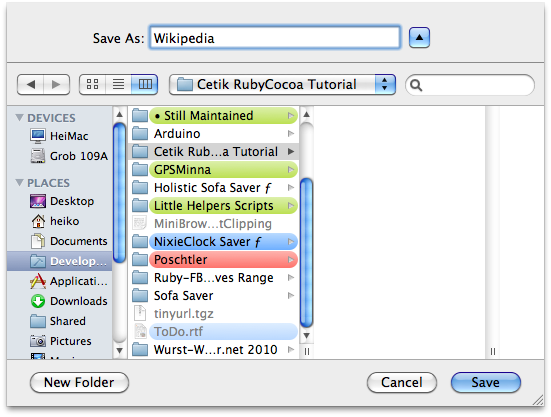
- ...choose a cosy[2] place and a name for your project, I named it Wikipedia...
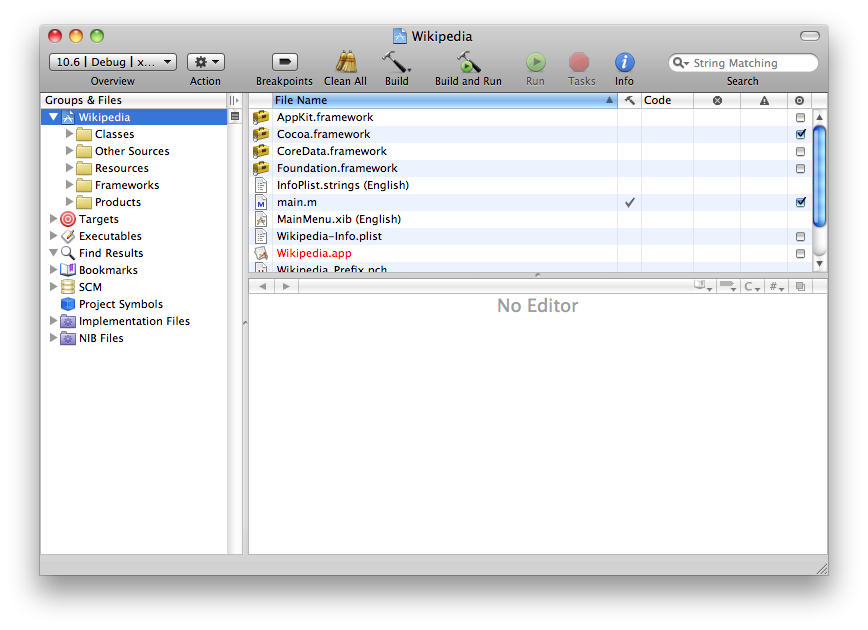
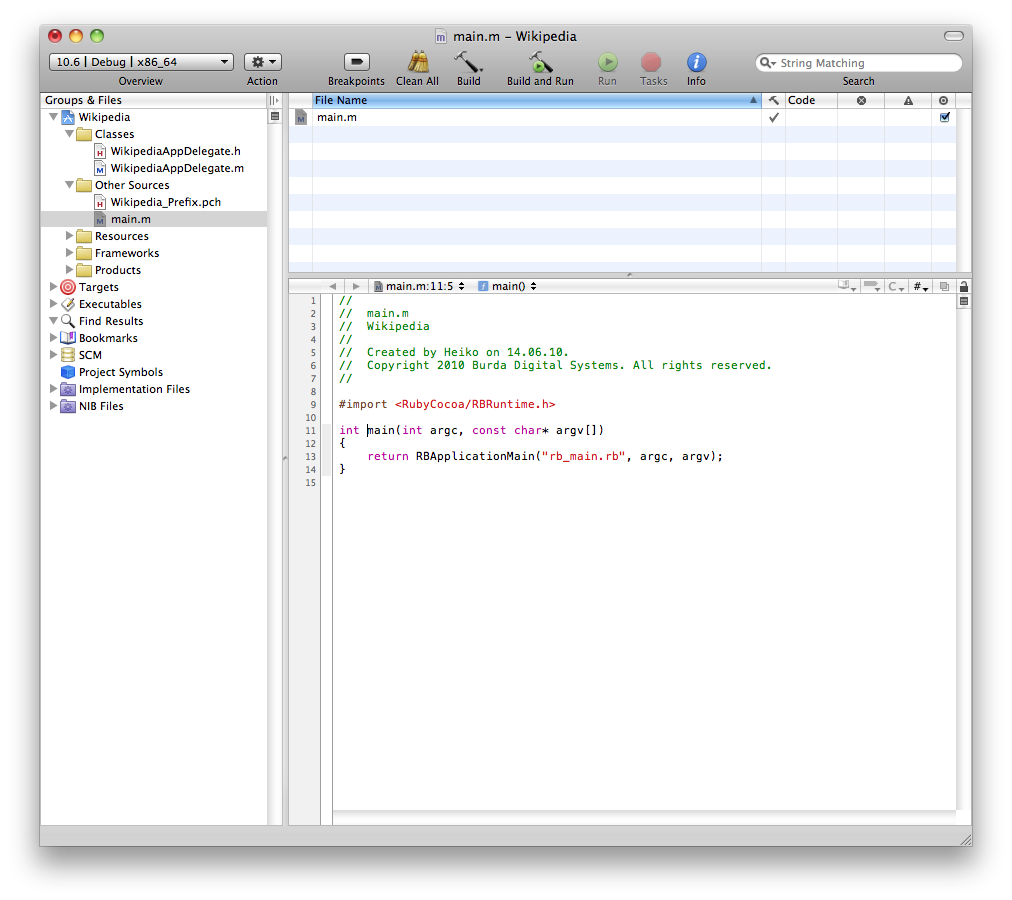
- ...this is your newly created project...
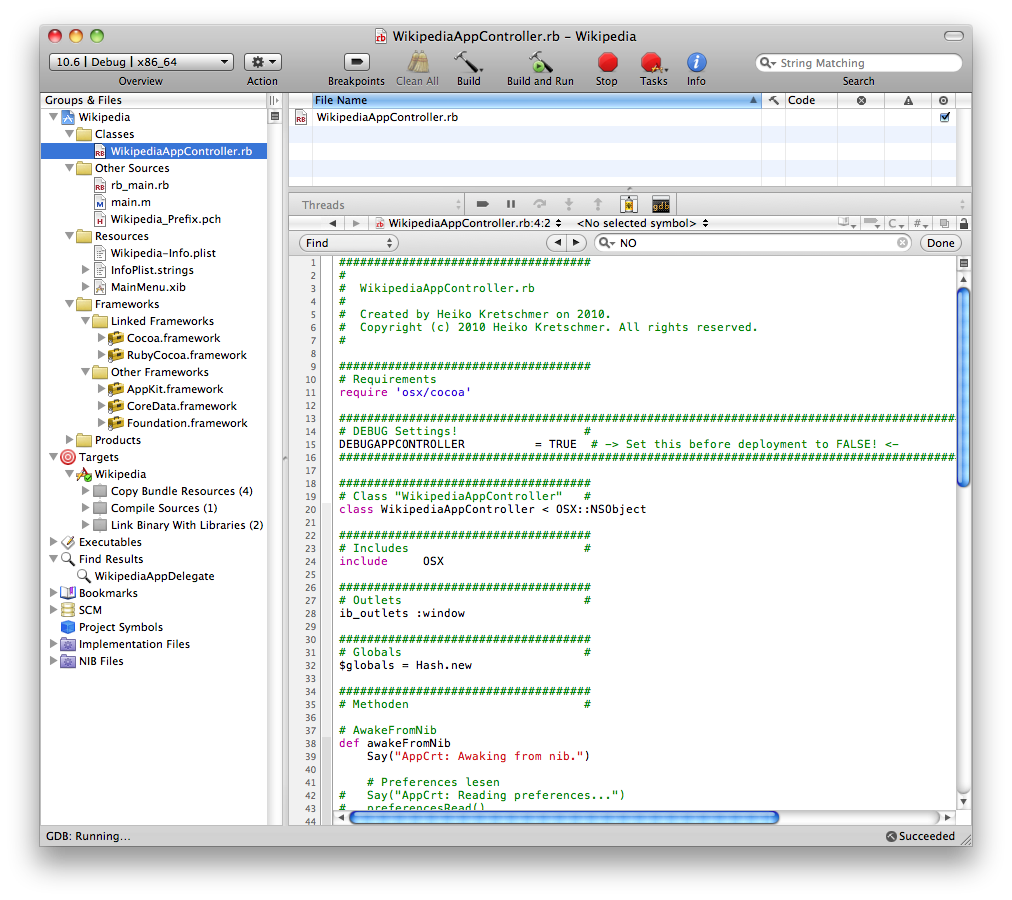
- ...edit main.m and paste the following...
#import <RubyCocoa/RBRuntime.h>
int main(int argc, const char* argv[])
{
return RBApplicationMain("rb_main.rb", argc, argv);
}
- ...choose File New File......
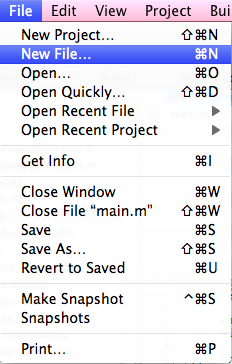
- ...choose Empty File and click Next...
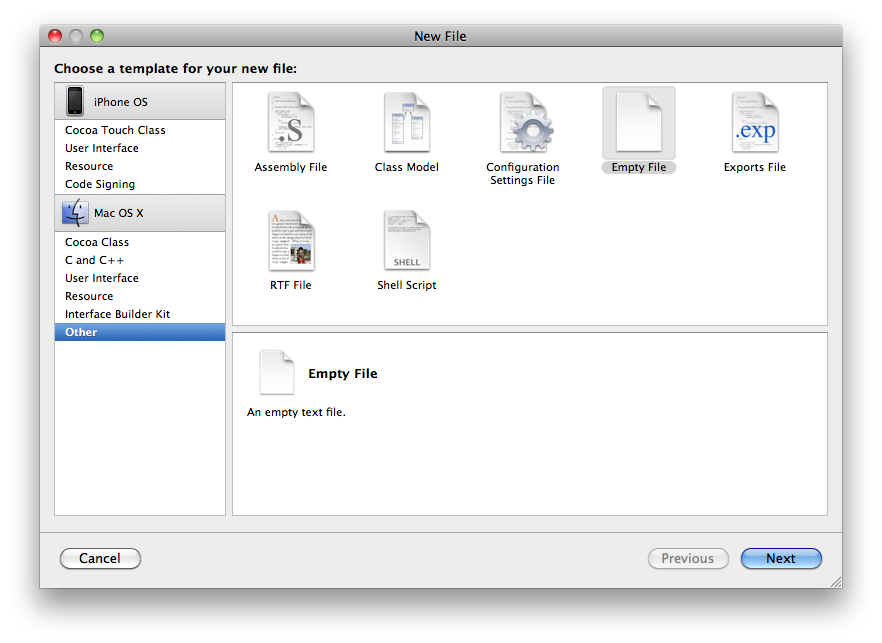
- ...name it rb_main.rb and save it to your project...
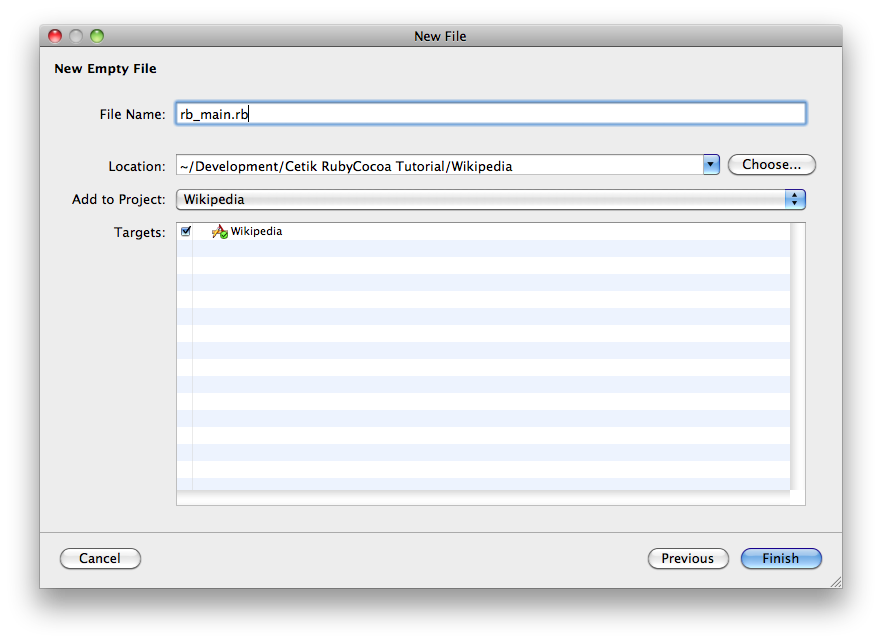
- ...now paste
require 'osx/cocoa'
def rb_main_init
path = OSX::NSBundle.mainBundle.resourcePath.fileSystemRepresentation
rbfiles = Dir.entries(path).select {|x|
/\.rb\z/ =~ x}
rbfiles -= [ File.basename(__FILE__) ]
rbfiles.each do |path|
require( File.basename(path) )
end
end
if $0 == __FILE__ then
rb_main_init
OSX.NSApplicationMain(0, nil)
end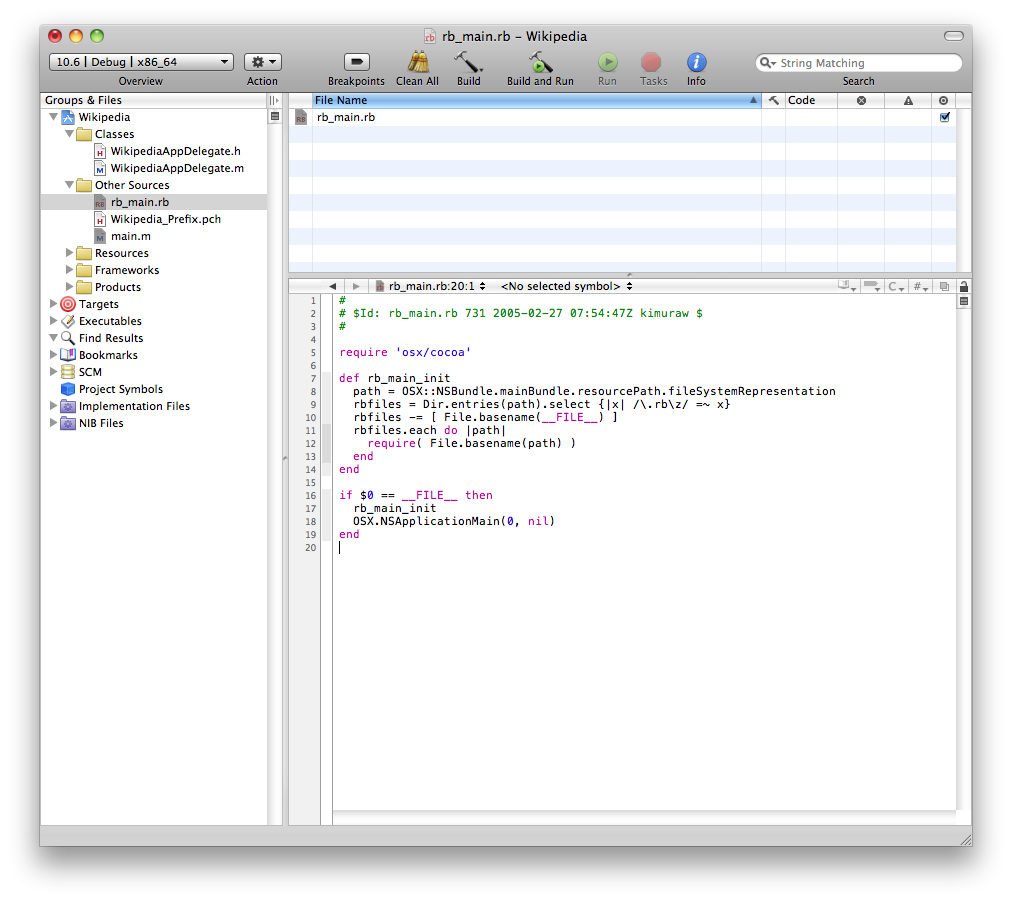
- ...add to the existing Frameworks...
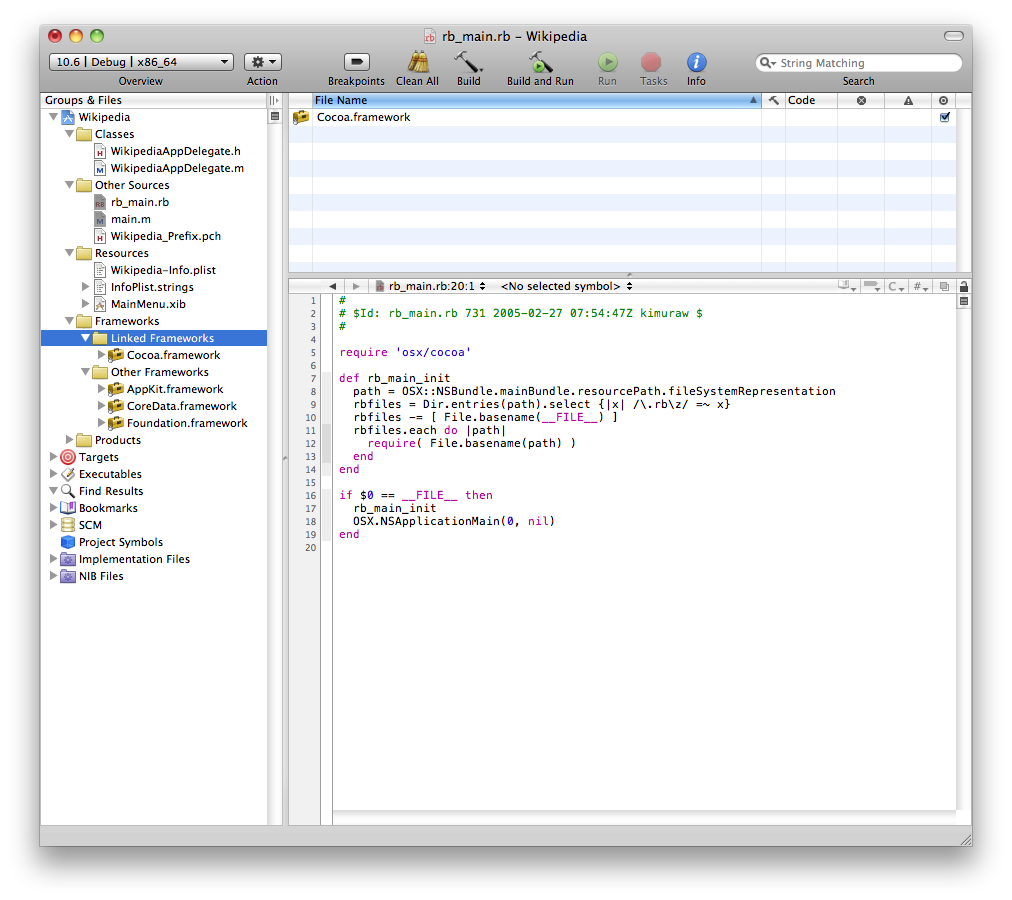
- ...the RubyCocoa.framework...
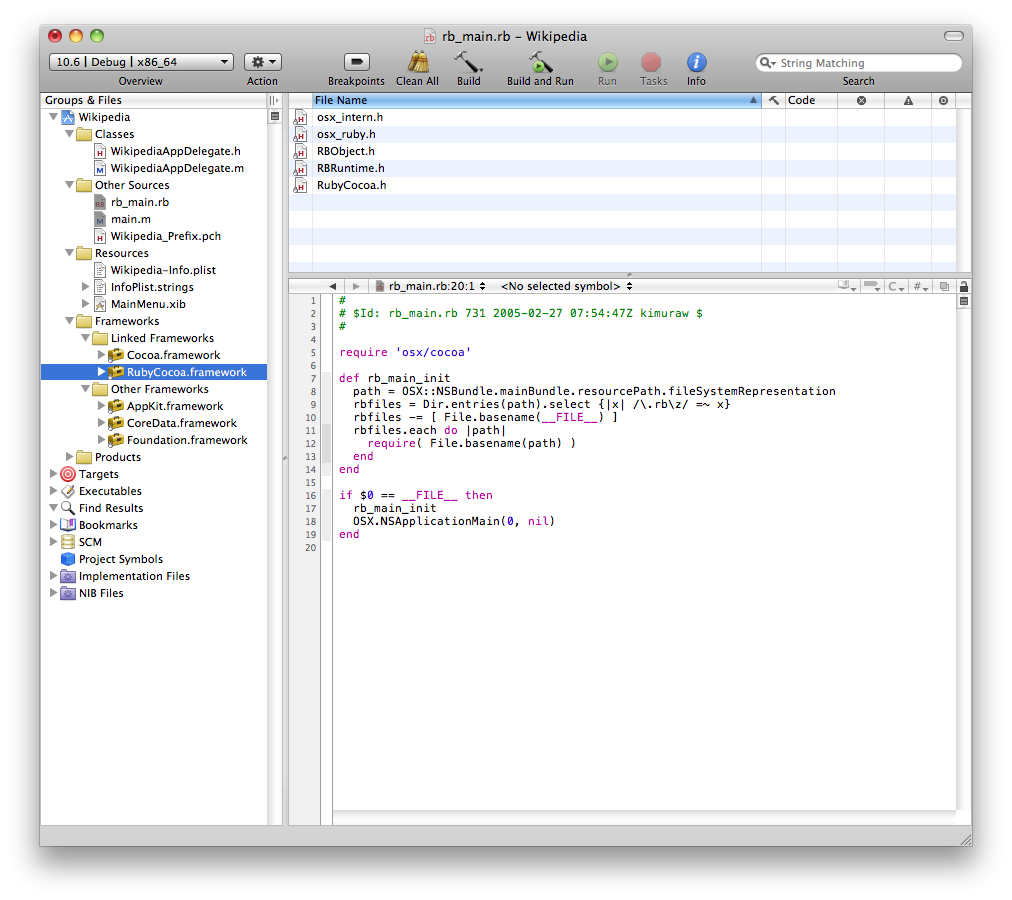
- Done! At this time you can already run your application by pressing ⌘-R. It will show an empty window, can be quit and even has an about box. Not bad for zero programming. If you're too lazy to do the above steps, you might want to download this.


Step 02: Adding an AppController
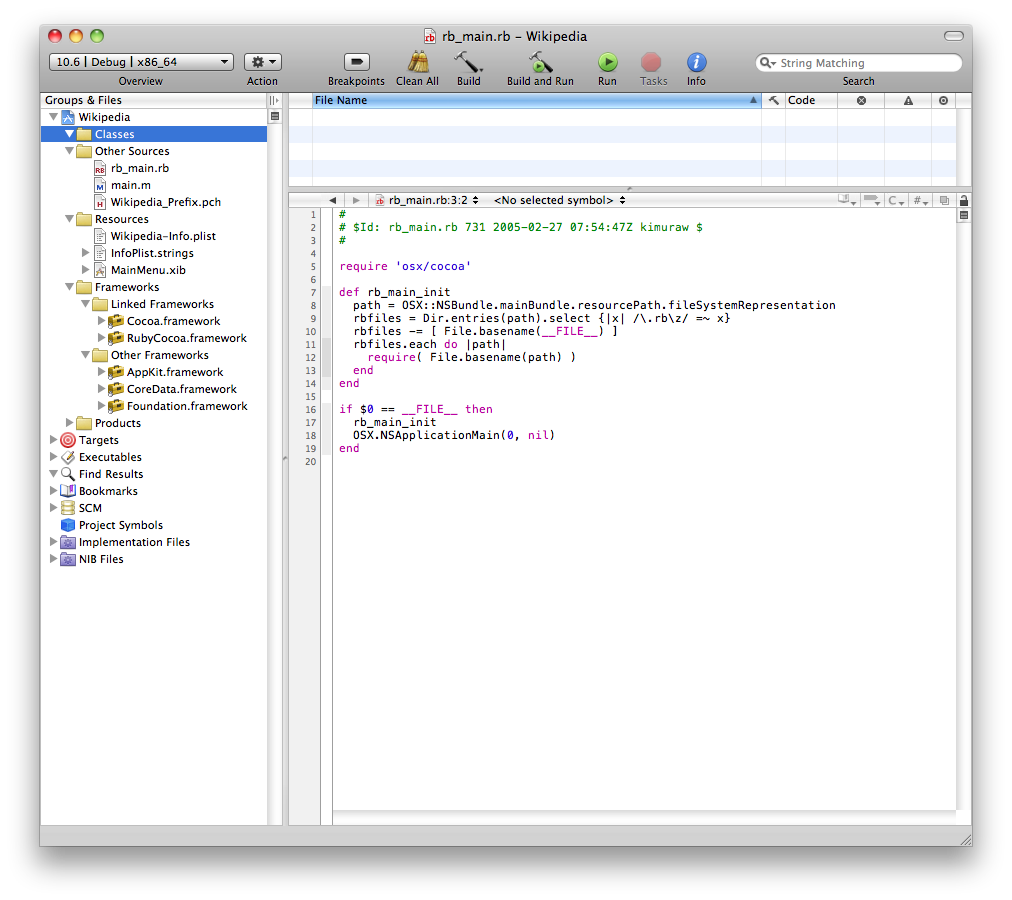
- There is still the Objective-C WikipediaAppDelegate class. Let's loose the class files (WikipediaAppDelegate.h and WikiAppDelegate.m)...
- ...and create a new file WikipediaAppController.rb...
- ...which we fill with:


####################################
#
#  WikipediaAppController.rb
#
#  Created by Heiko Kretschmer on 2010.
#  Copyright (c) 2010 Heiko Kretschmer. All rights reserved.
#

####################################
# Requirements
require 'osx/cocoa'

############################################################################################################
# DEBUG Settings!				   #                                                                       #
DEBUGAPPCONTROLLER			= TRUE  # -> Set this before deployment to FALSE! <-						   #
############################################################################################################

####################################
# Class "WikipediaAppController"   #
class WikipediaAppController < OSX::NSObject

####################################
# Includes						   #
include		OSX

####################################
# Outlets                          #
ib_outlets :window

####################################
# Globals                          #
$globals = Hash.new

####################################
# Methoden                         #

# AwakeFromNib
def awakeFromNib
 Say("AppCrt: Awaking from nib.")

 # Preferences lesen
 #	Say("AppCrt: Reading preferences...")
 #	preferencesRead()

 # Preferences in window anzeigen
 #	Say("AppCrt: Applying preferences...")
 #	preferencesApply()
end # of awakeFromNib

def applicationDidBecomeActive(aNotification)
 Say("didActivate!")
 @window.makeKeyAndOrderFront_(self)
end # didActivate

def applicationWillResignActive(aNotification)
 Say("willDeactivate!")
end # didDeactivate

# About Window
#def aboutApp (sender)
#    thisBundle = OSX::NSBundle.mainBundle
#	copyrightString = thisBundle.objectForInfoDictionaryKey("CFBundleGetInfoString")
#	versionString   = thisBundle.objectForInfoDictionaryKey("VersionString")
#	NSApp.orderFrontStandardAboutPanelWithOptions("Copyright" => copyrightString, "ApplicationVersion" => versionString)
#end # aboutApp
#ib_action :aboutApp

def applicationDidFinishLaunching(notification)
 Say("Application finished launching")
end

# If sent to foreground
def sendToForeground(sender)
 Say("Application coming to front")
 OSX::NSApp.activateIgnoringOtherApps:YES # Verfahren aus Schick geklaut
end

# Will Terminate
def applicationWillTerminate (notification)
 Say("Will terminate.")
end

# Should Terminate
def applicationShouldTerminate (notification)
 Say("Should terminate.")
 #	preferencesWrite()
 return NSTerminateNow
end


###############################################################################
# Private API #################################################################
private
def Say(*args)
 if (DEBUGAPPCONTROLLER==0) then return # Debugging ist aus -> raus hier
 else
  OSX::NSLog(*args)
 end # else !debug
end # Say

end # AppController
Step 03: Connect the AppController
- Before the new AppController works, we have to fix two things in MainMenu.xib...double-click it in XCode...
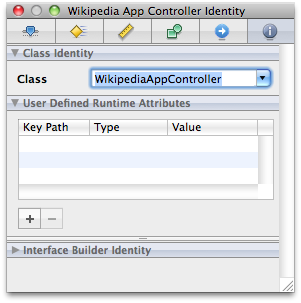
- ...set the class of the AppController to the new WikipediaAppController (is still set to the name of the WikipediaAppDelegate Objective-C class). Click the old object (Wikipedia App Delegate) and choose the new class with the inspector:
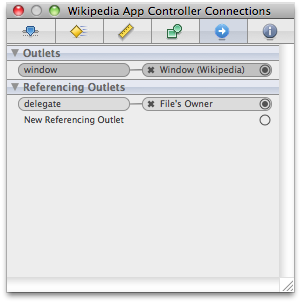
- Now connect the window object to the outlet of the AppController...


Step XX: Adding a Webview
Step 03: Setting version infos
Step 04: Application icon
- Links
- More RubyCocoa Applications: GPSMinna, ScreenCast
- Fußnoten: