5 Easy Steps To Your First RubyCocoa Application: Difference between revisions
Jump to navigation
Jump to search
| Line 18: | Line 18: | ||
# <br>[[Image:RubyCocoaTutorialStep1CreatingTheProject09.png]] | # <br>[[Image:RubyCocoaTutorialStep1CreatingTheProject09.png]] | ||
# <br>[[Image:RubyCocoaTutorialStep1CreatingTheProject10.png]] | # <br>[[Image:RubyCocoaTutorialStep1CreatingTheProject10.png]] | ||
# <br>[[Image:RubyCocoaTutorialStep1CreatingTheProject11.png]] | |||
At this time you can already run the application. I will show an empty window, can be quit and even has a about box. Not bad for zero programming. If you're too lazy to do the above steps, you might want to download [[Media:Wikipedia_Step_01.zip|this]]. | At this time you can already run the application. I will show an empty window, can be quit and even has a about box. Not bad for zero programming. If you're too lazy to do the above steps, you might want to download [[Media:Wikipedia_Step_01.zip|this]]. | ||
Revision as of 23:22, 14 June 2010
This is my preparation for the Cetik Event 2010. 2009 I promised to hold a lecture about creating an simple RubyCocoa application.
What you need
- Macintosh of your choice
- MacOS X 10.5 oder 10.6 (10.4 users have to install RubyCocoa theirselves)
- XCode 2.4 or higher[1]
- some time
Step 01: Creating the project
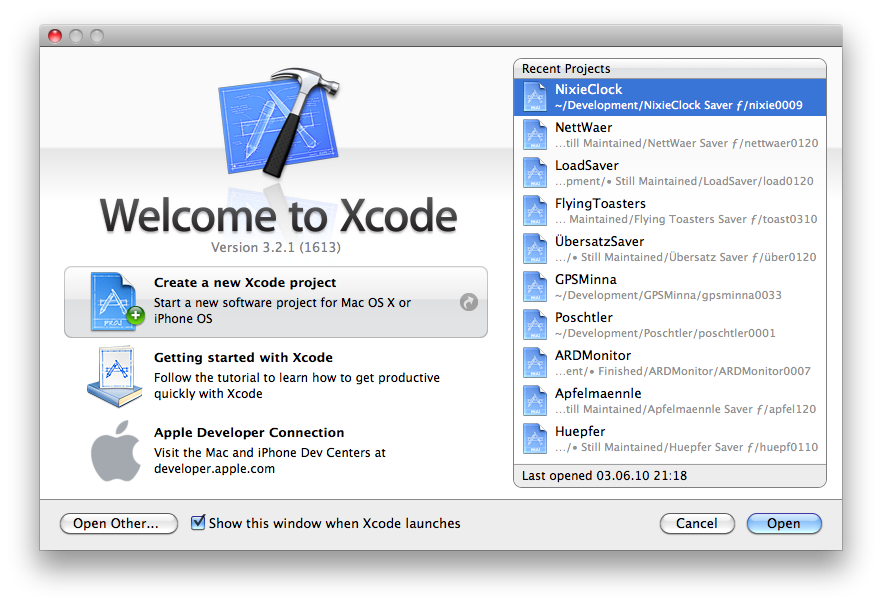
- Click Create a new XCode project...
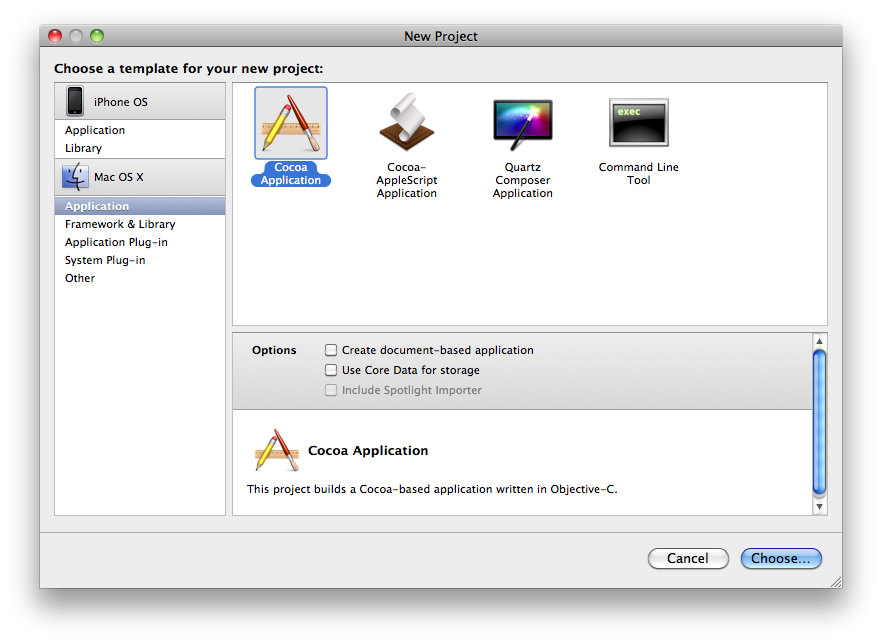
- ...choose Application on the left and Cocoa Application on the right and click Choose......
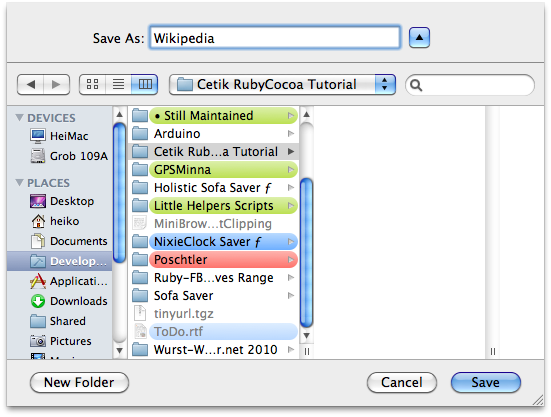
- ...choose a cosy[2] place and a name for your project, I named it Wikipedia...
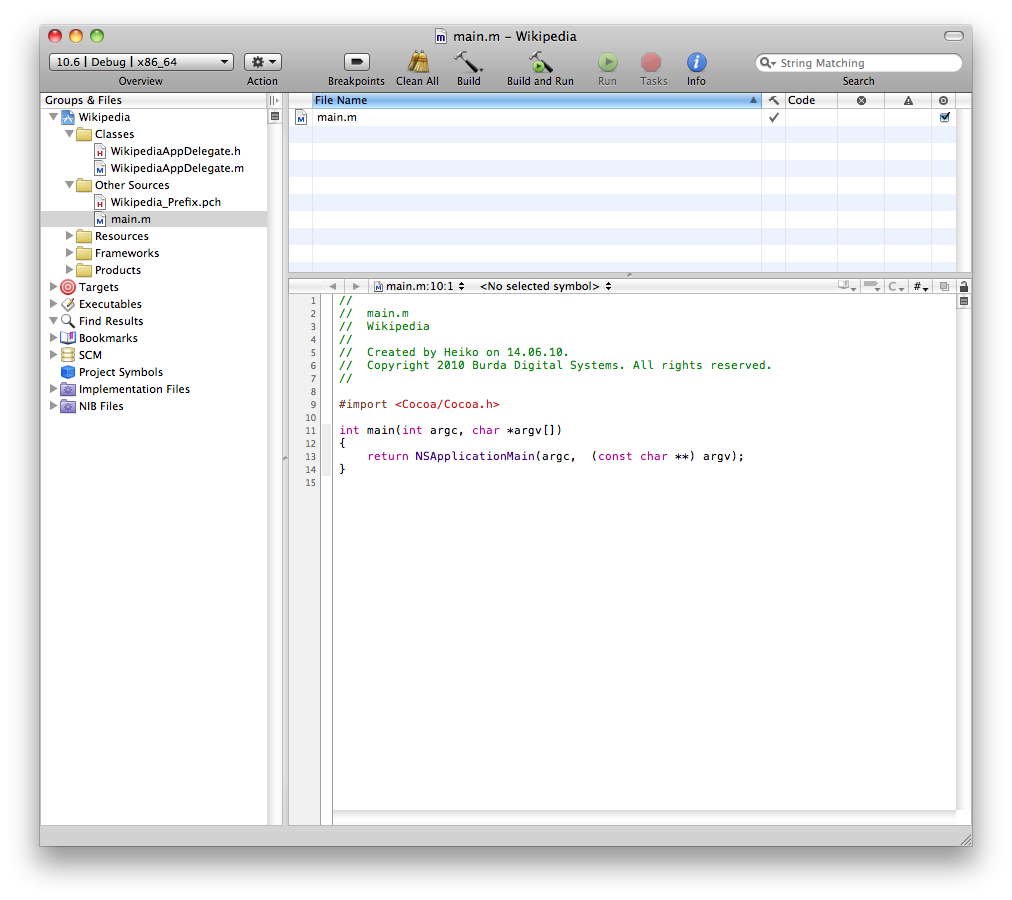
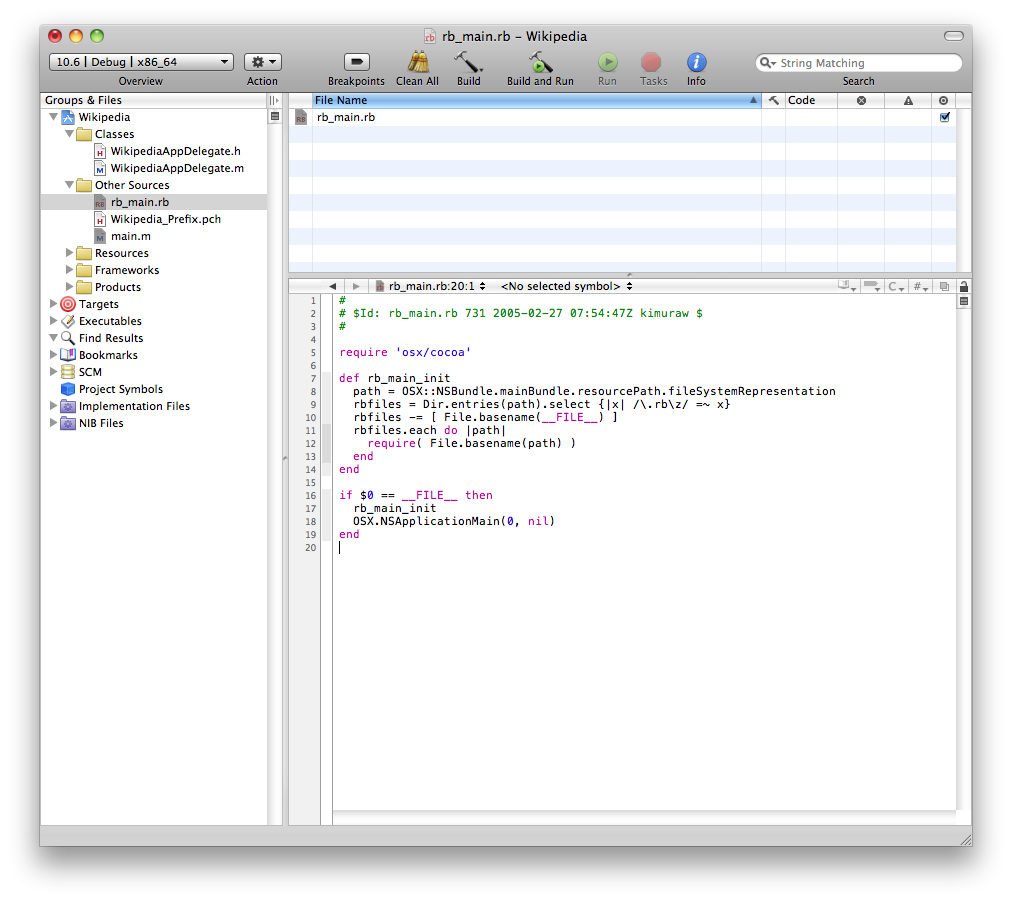
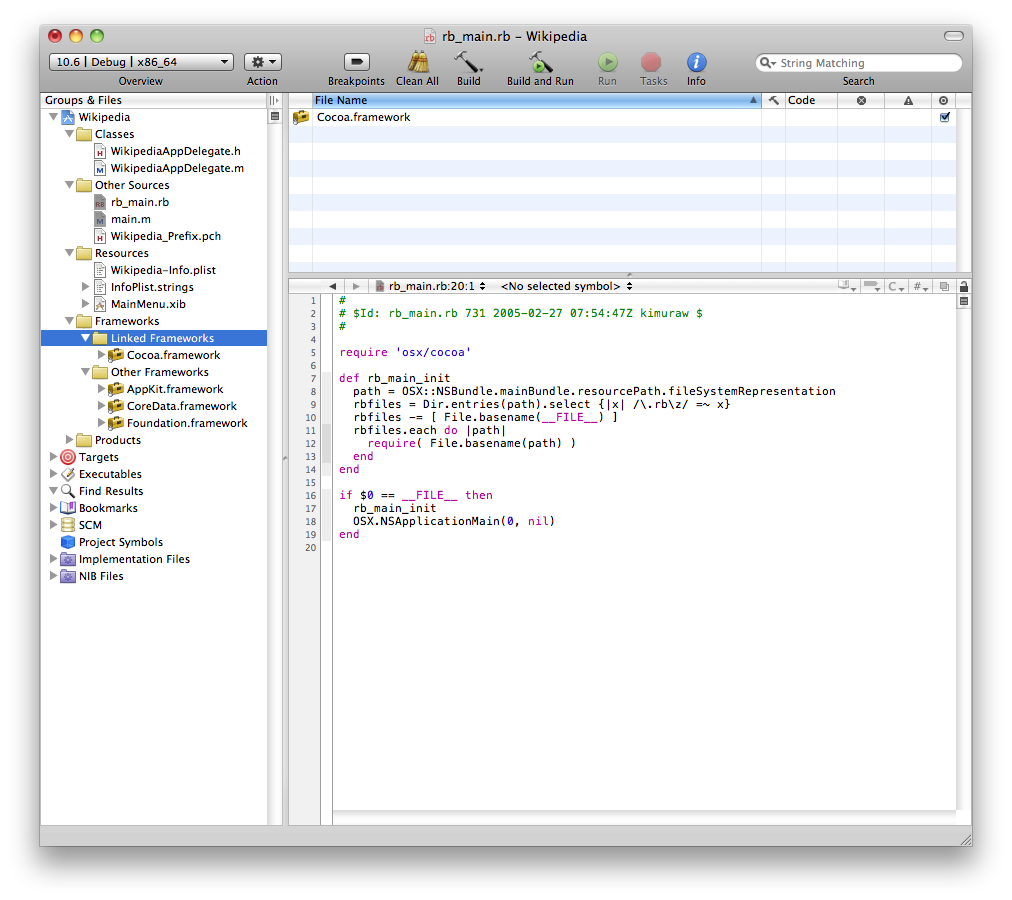
- ...this is your newly created project...
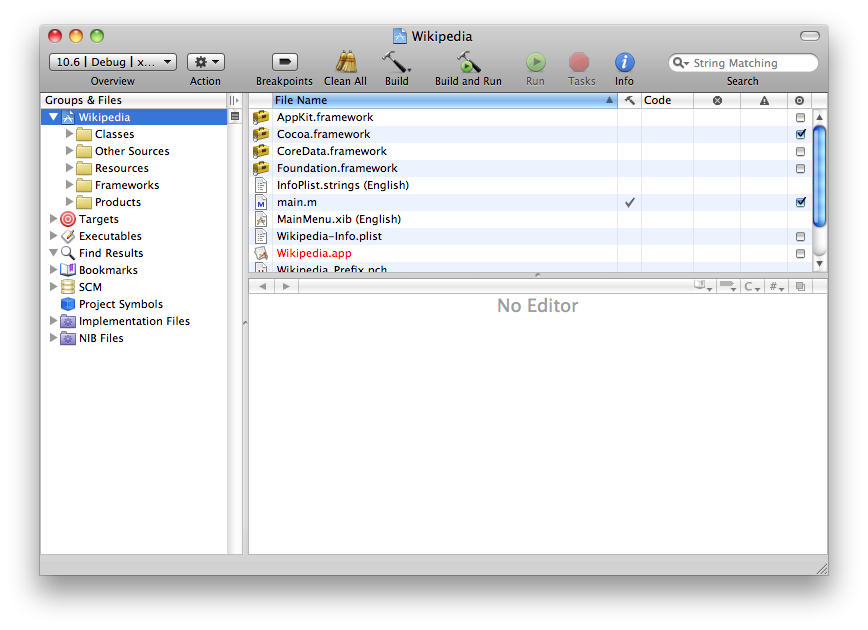
- ...edit main.m and paste the following...
#import <RubyCocoa/RBRuntime.h>
int main(int argc, const char* argv[])
{
return RBApplicationMain("rb_main.rb", argc, argv);
}
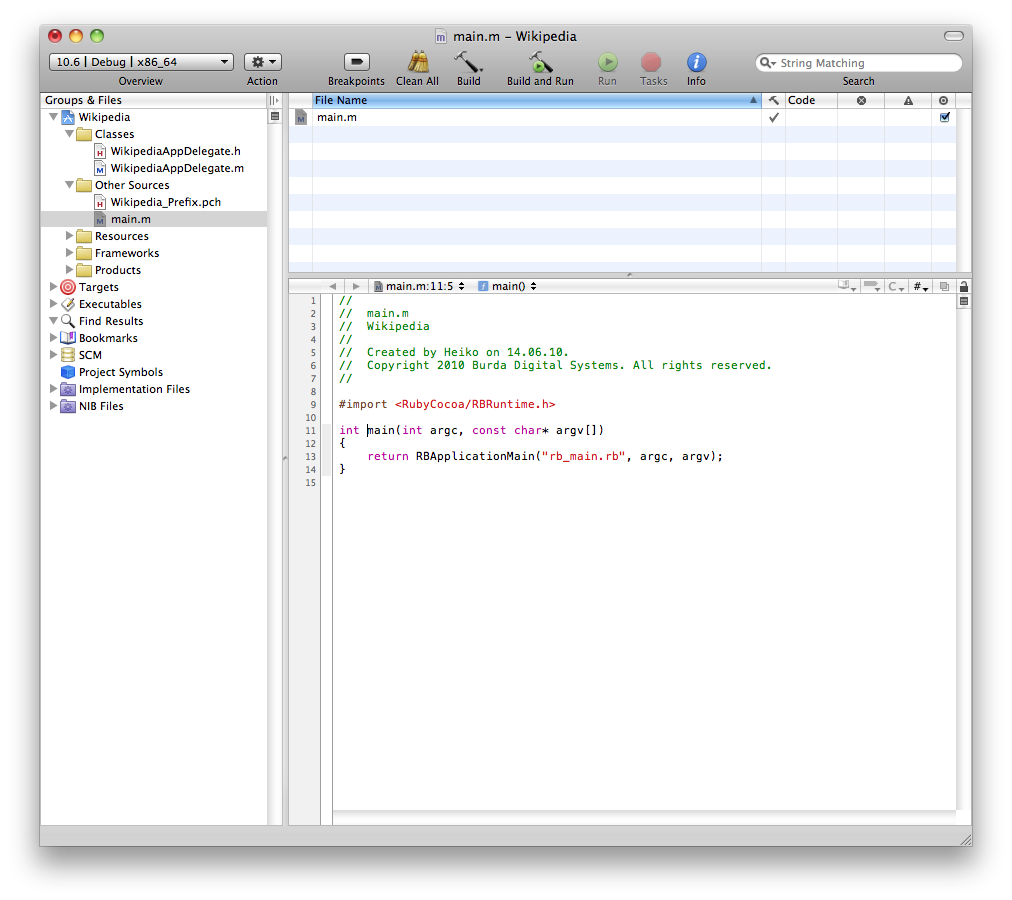
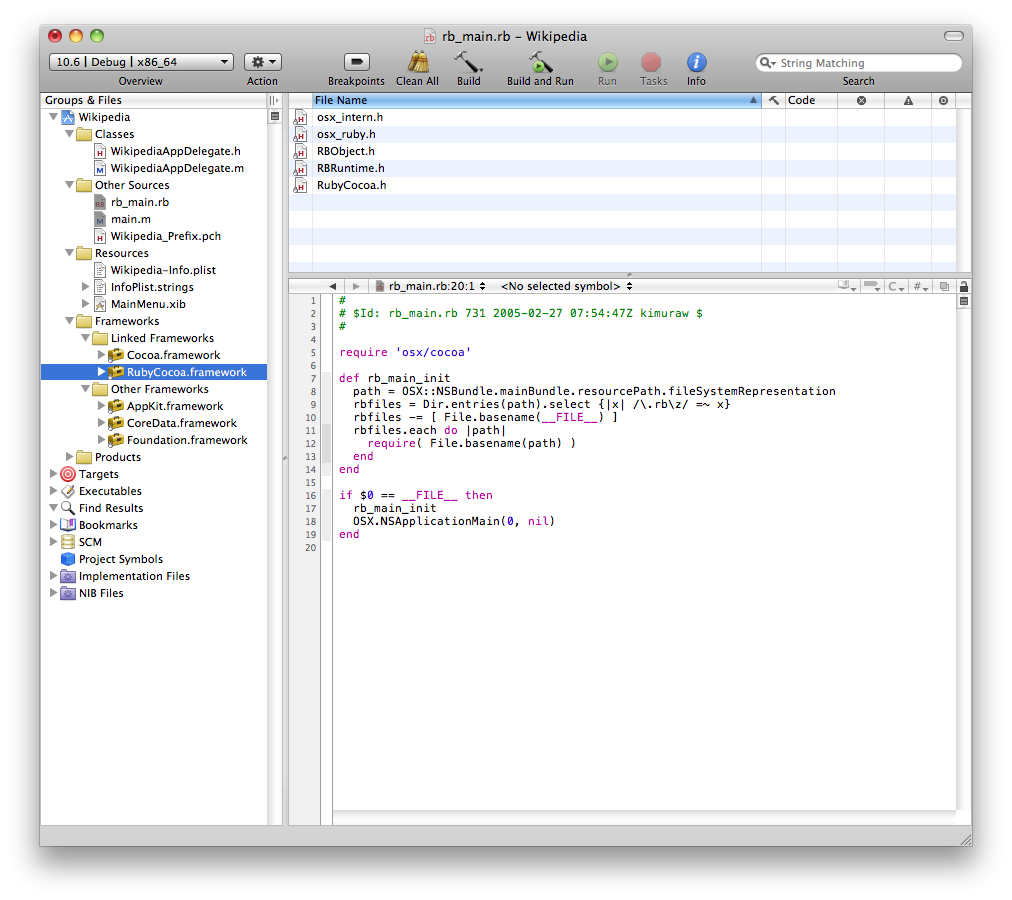


At this time you can already run the application. I will show an empty window, can be quit and even has a about box. Not bad for zero programming. If you're too lazy to do the above steps, you might want to download this.
Step 02: ?
- Links
- Fußnoten: